Start with Your Stash (Seriously)
Instead of starting from scratch, I pulled out gel prints I already had.
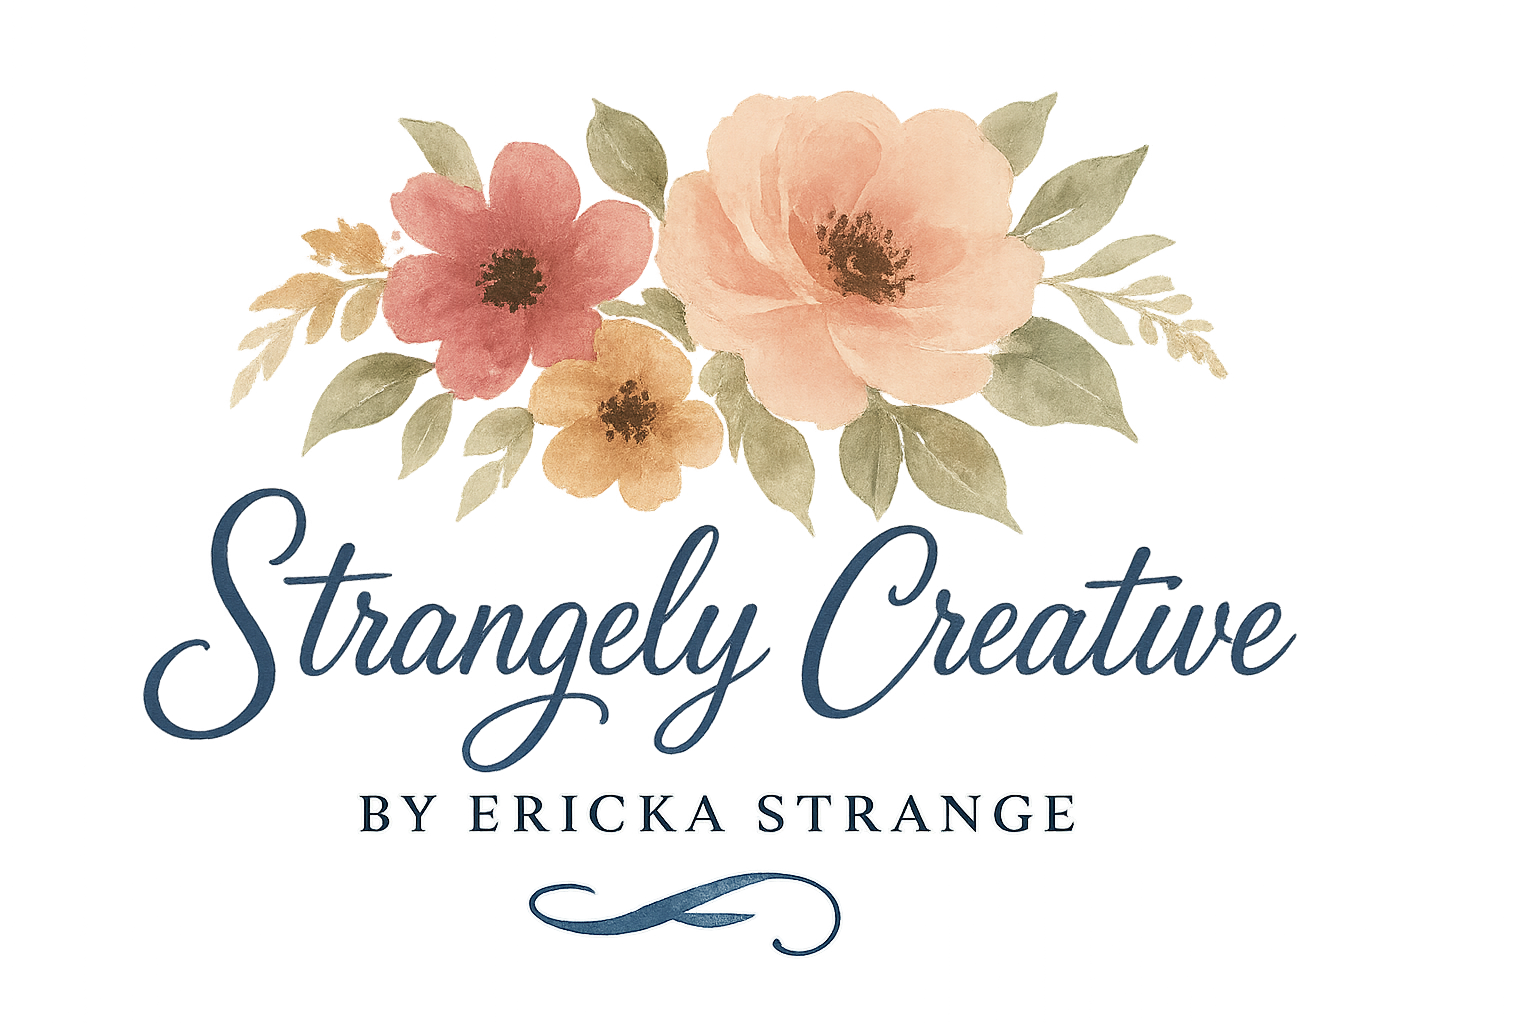
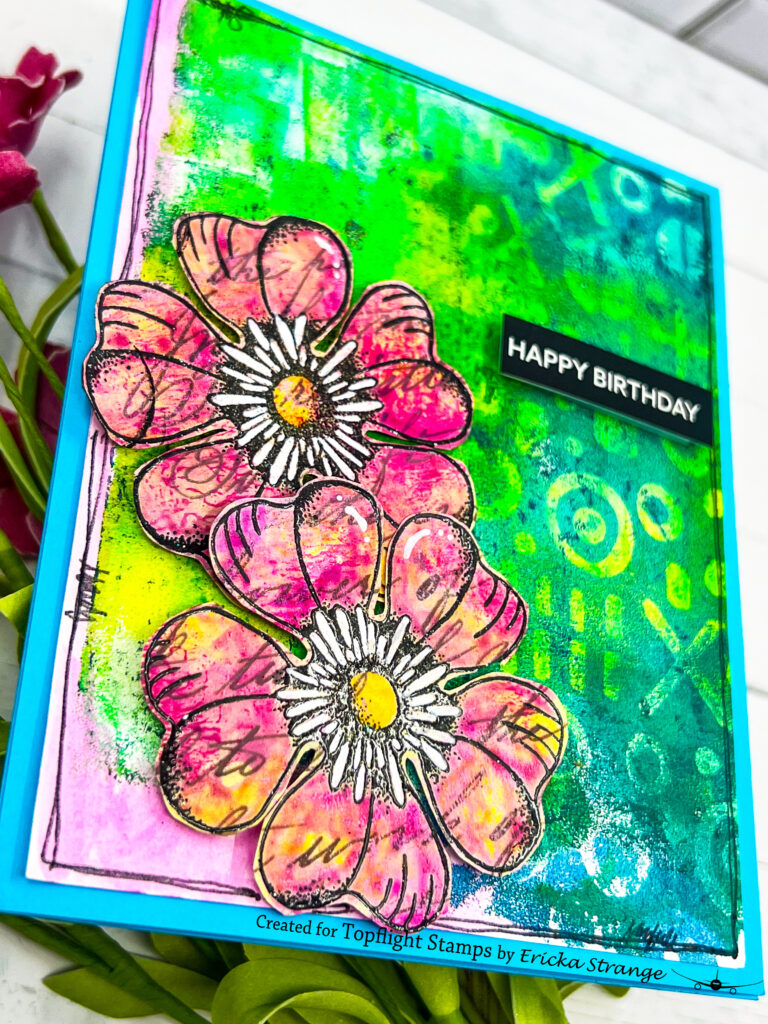
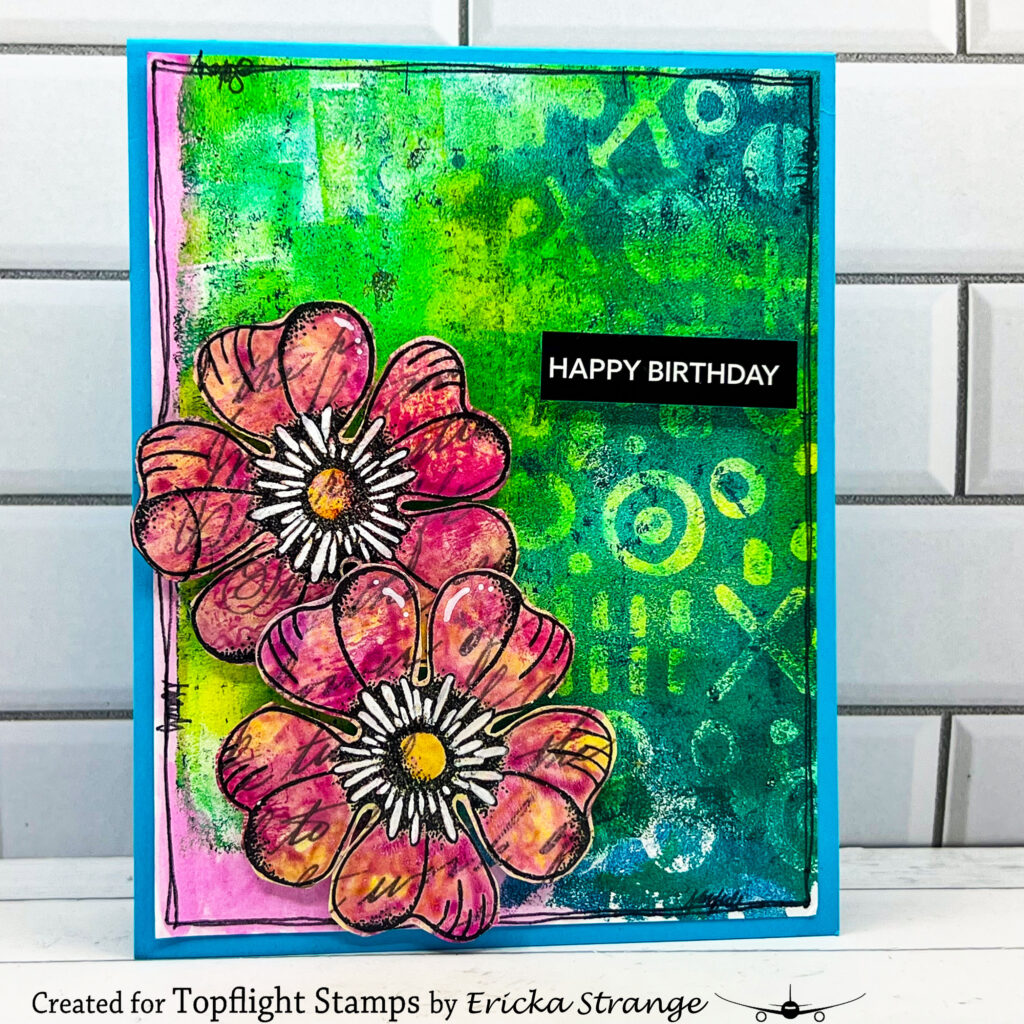
For the background, I used a print created with a texture plate (and quick tip—stencils give a very similar effect, so use what you have).
Then I found another print layered over printed paper and stamped my flower images right on top. This is one of my favorite ways to add instant complexity without extra steps.
✨ The Detail That Makes It Pop
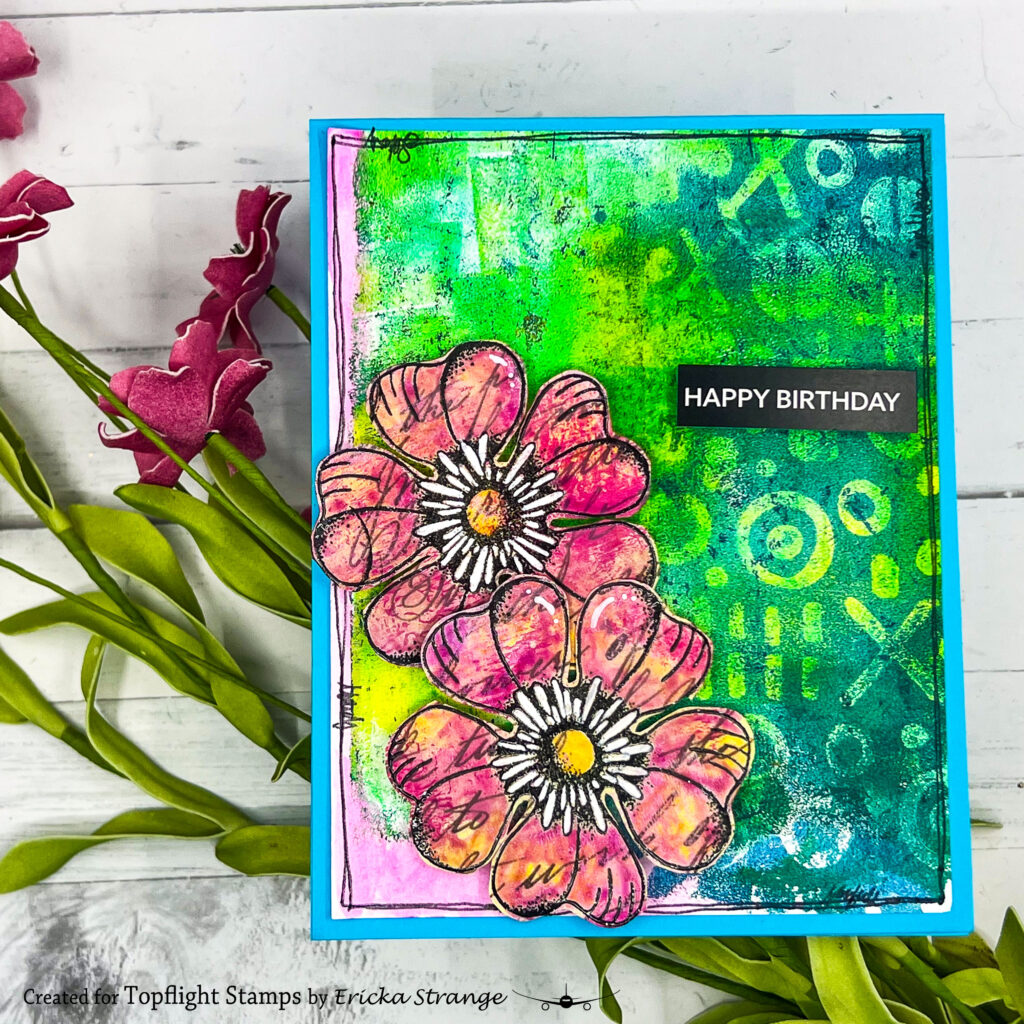
Once everything was stamped, I grabbed my white gel pen and added:
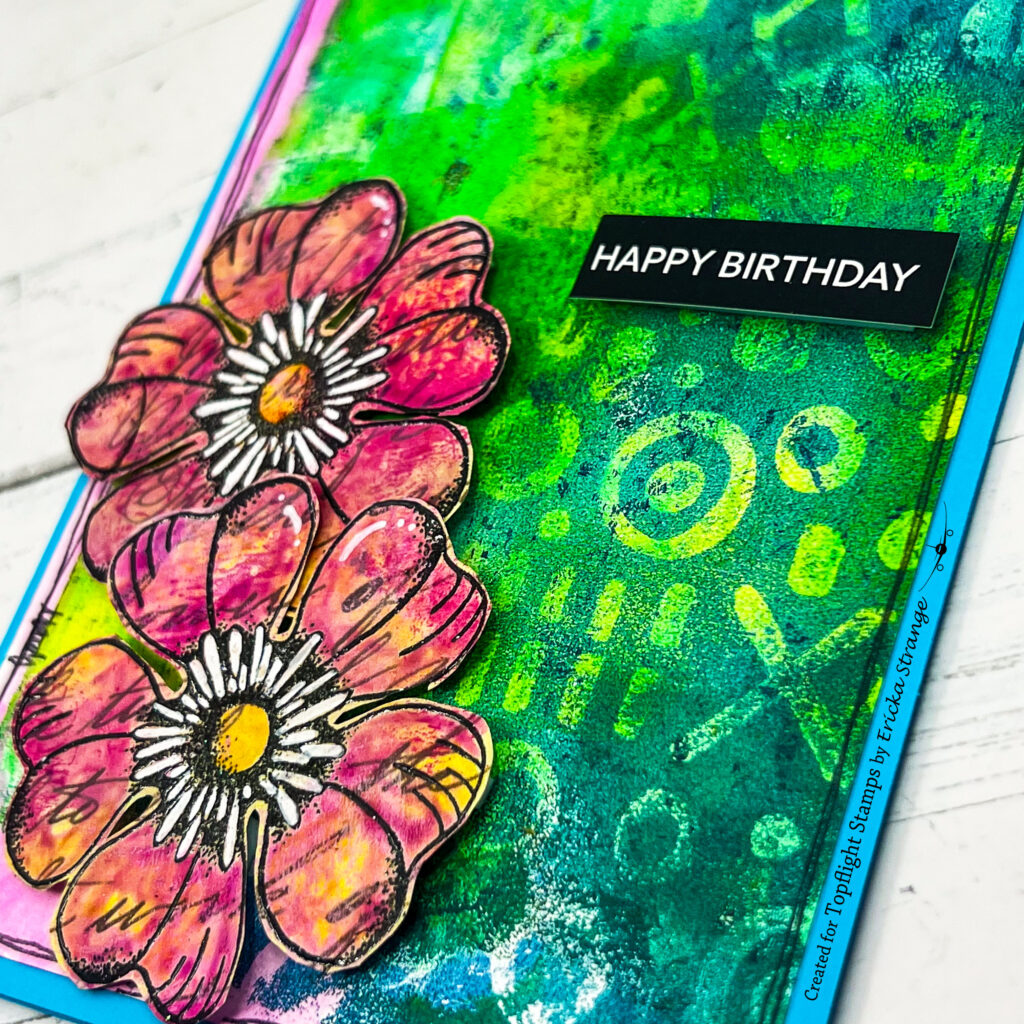
- Highlights to the petals
- Small accents to break up the color
- A little extra contrast to bring the flowers forward
It’s a small step, but it completely changes the look. Don’t skip it.
🎂 Finishing It Off
To pull everything together, I added:
- A simple hand-drawn frame
- A birthday sentiment to match the celebration
Done. Layered, colorful, and full of personality—without over complicating the process.
💛 A Little Creative Challenge for You
Before you start your next project, try this:
👉 Pull out 3 gel prints from your stash
👉 Stamp right on top of them
👉 Add white gel pen highlights
That’s it. See what happens.
You might be surprised how quickly something amazing comes together.
👉 Before You Go…
If you enjoy projects like this—real, usable ideas that help you actually use your stash, make sure to subscribe to the blog.
I share new mixed media projects, techniques, and ideas regularly, and I’d love to have you creating along with me. Thanks so much for stopping by and celebrating with us. Now go make something with what you already have. 💛
Want to find the supplies I used? I have listed them below. (Compensated affiliate links used at no cost to you.) Thank you for your support!
 PaperArtsy – Tracy Scott 105 Shop at: TP |
 WOW! Embossing – Clear Shop at: WOW US | TP |
 Tsukineko – VersaFine Clair – Nocturn Shop at: AZ | TP |
 Gel Press – Reusable Gel Printing Plate Shop at: AZ | TP | Misc |
 Speedball – 2″ Brayer Shop at: TP |