Hello friends! Today I’m sharing a simple, fresh spring tag that came together using what I already had on my desk. No complicated plan. Just paint, stamping, and a little layering.
I began by grabbing a few paints that were already out and applying them directly to my tag.
This is one of my favorite ways to start:
👉 No pressure, just color.
Let the paint blend naturally and don’t overthink it. Those imperfect layers are what give your tag character.
🌿 Building the Layers
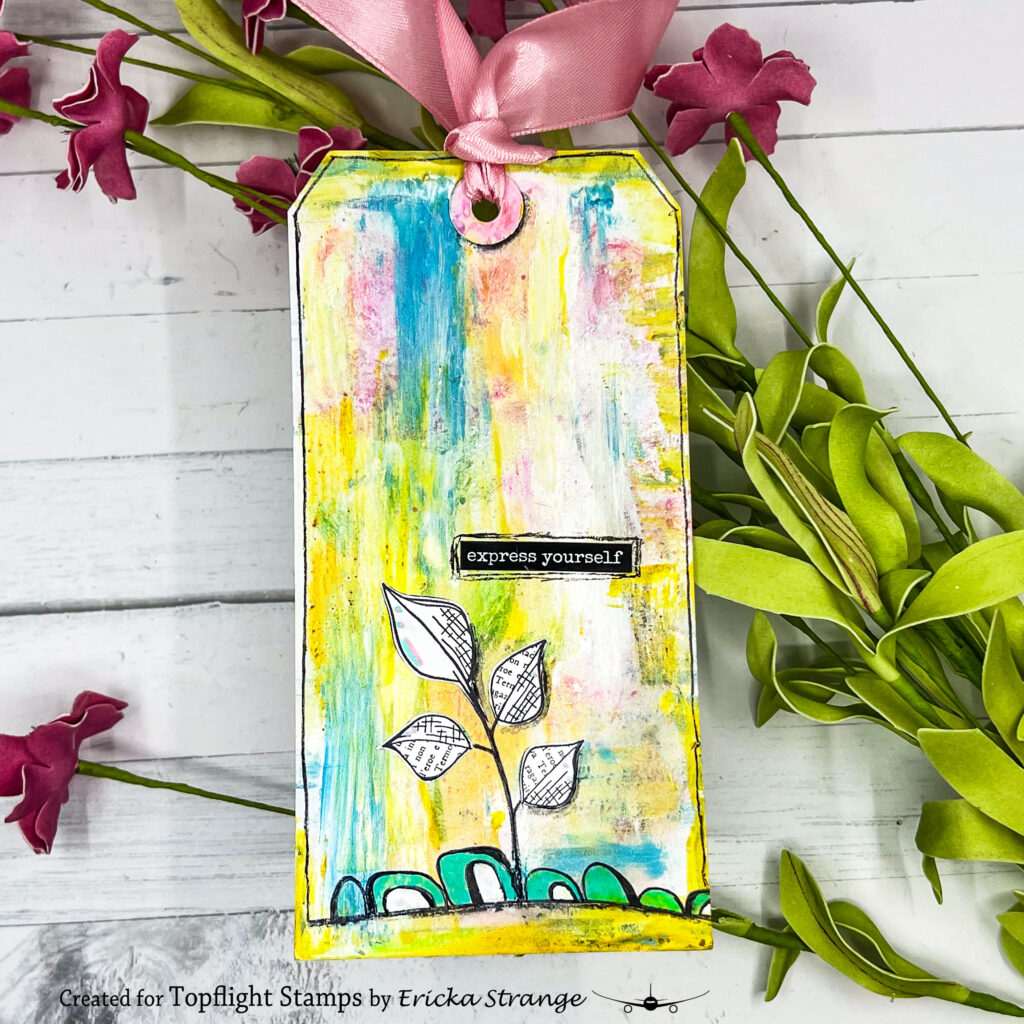
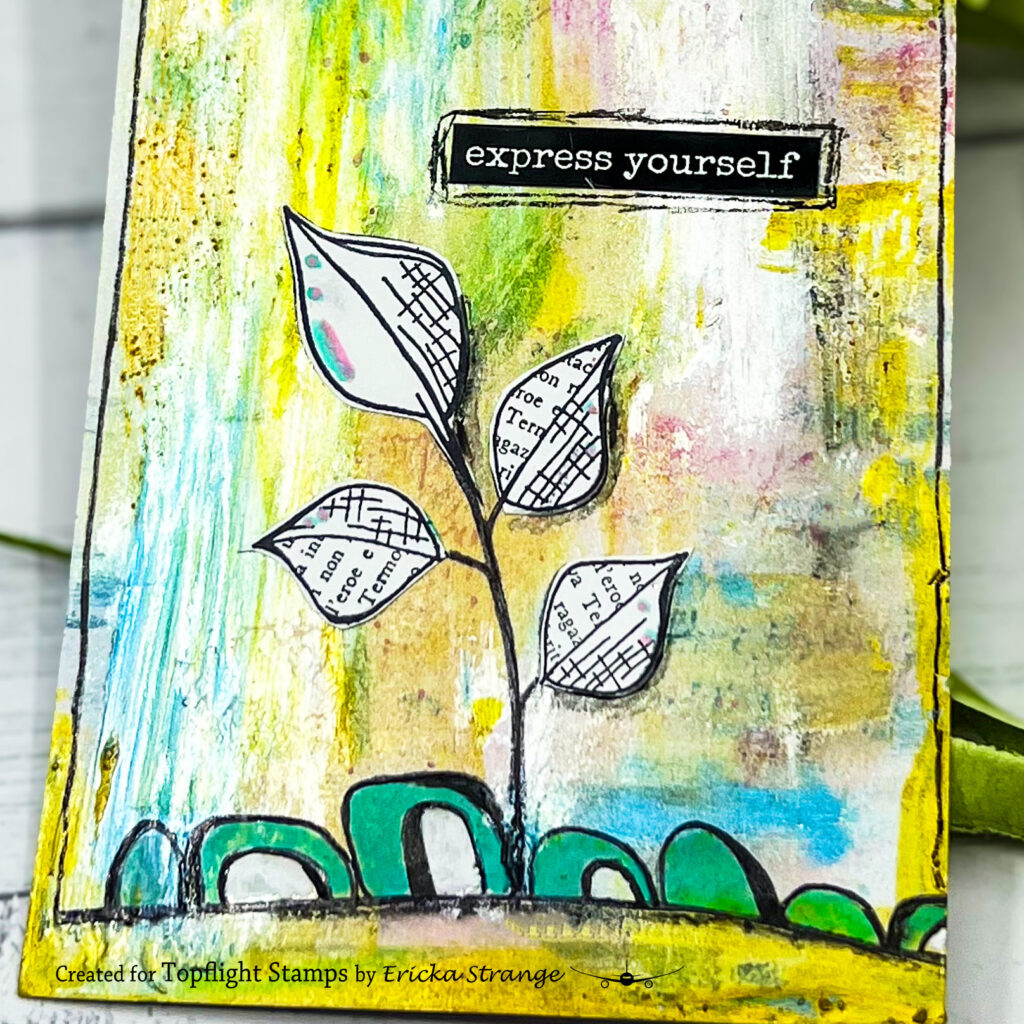
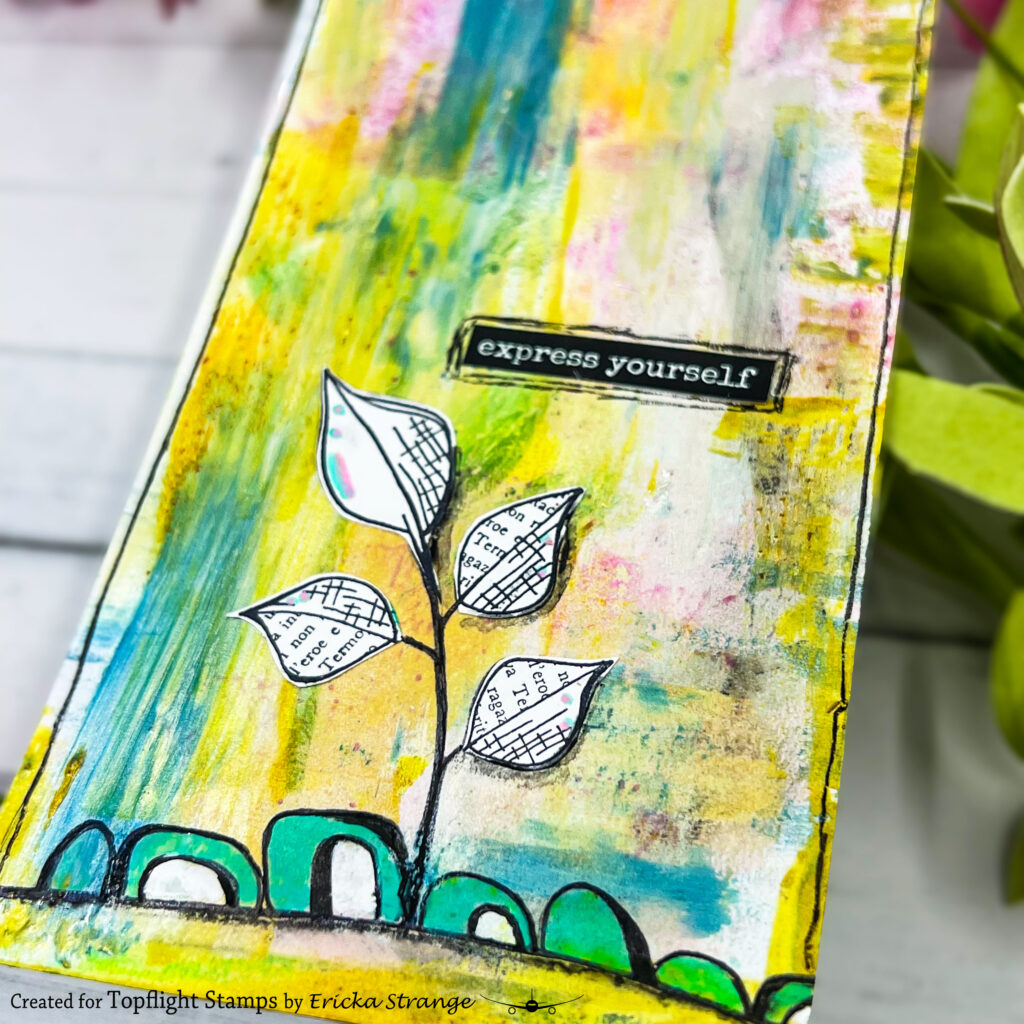
While the background dried, I stamped the leaf image from the JOFY Mini 103 by PaperArtsy onto white paper and fussy cut the leaves.
Next, I stamped the same image directly onto the tag to create a base layer, then adhered the white cut-out leaves on top.
That contrast—soft painted background with crisp white elements—really makes the design pop.
I added another stamped detail from the JOFY 147 just below the leaves to ground the composition and add a bit more texture.
✨ Finishing Touches
To bring everything together, I added:
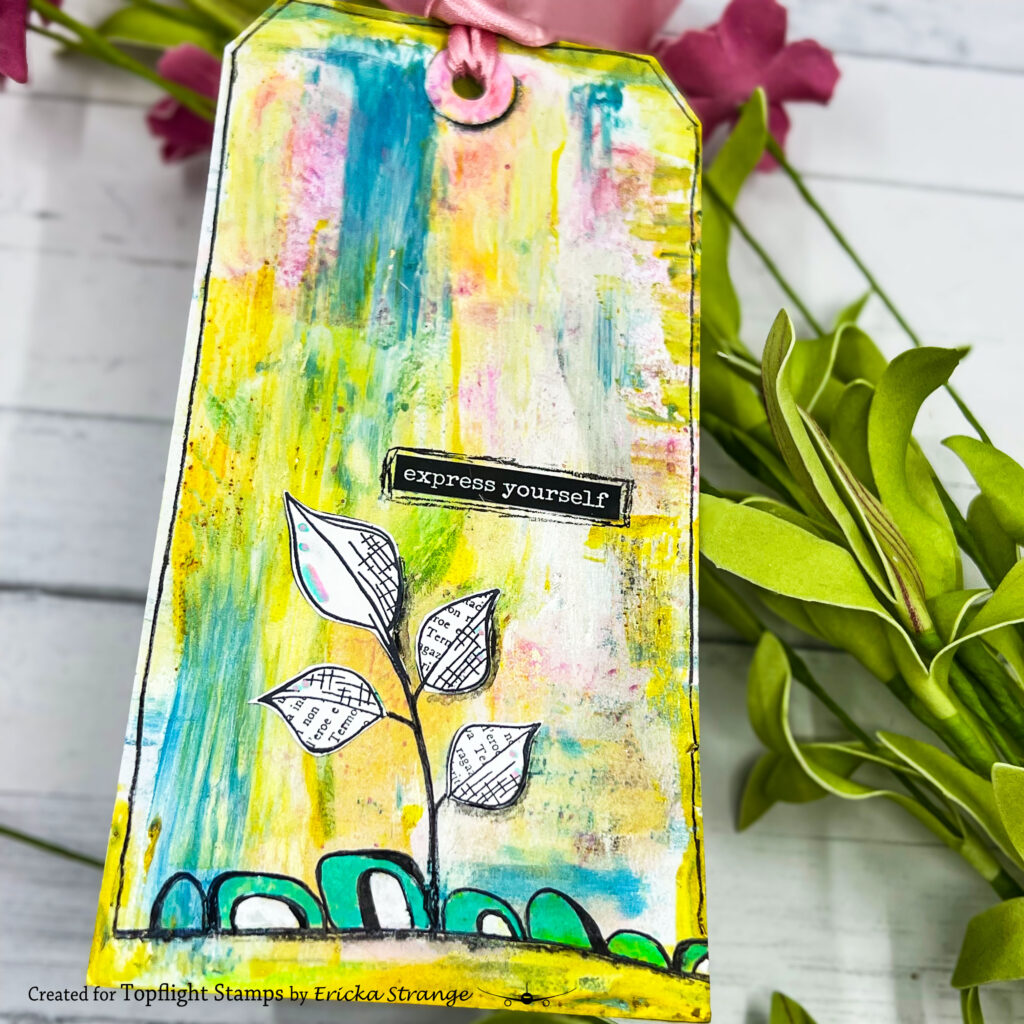
- A hand-drawn frame for definition
- A sentiment from the Lavinia Sentiment Collection
- A few highlights with a white Posca pen
Those final details help guide the eye and give the tag a clean, finished look.
💛 Why This Tag Works
- Soft painted background keeps it light and seasonal
- Layered stamping adds depth without bulk
- White cut-outs create contrast and focus
- Simple details keep it from feeling overworked
🌼 A Little Creative Nudge
If you’ve only got a few minutes to create, try this:
👉 Grab a tag
👉 Add leftover paint
👉 Stamp one image twice (background + focal)
👉 Add a few highlights
Done.
Thanks so much for stopping by today. I hope this inspires you to carve out a little creative time this week—even if it’s just a quick tag. 💛
 PaperArtsy – JOFY 147 Shop at: TP |
 PaperArtsy – JOFY Mini 103 Shop at: TP |
 WOW! Embossing – Clear Shop at: WOW US | TP |
 Lavinia – Sentiment Stickers – Uplifting Collection Shop at: TP |
 Tsukineko – VersaFine Clair – Nocturn Shop at: AZ | TP |